Showing posts with label interior designer. Show all posts

Jan 25, 2017

Living Room Refurbish

This was a small project where I was asked by the client to spruce up the space with as little as possible. The new seating area needed to be light and airy, casual, modern, and comfortable. It also needed to seat a big number of people. We refurbished a couple of the existing chairs and a side table as requested by the client.


Nov 28, 2016

Guest Bedroom Turned Kids Playroom, A Project By Me

Hi everyone

I've just completed turning this dark guest bedroom into a kids playroom for a very lovely family and I'd love to share it with you.

The clients wanted me to use some items that were already available in their home;
Toys storage units that we later added one to, a fold out sofa, IKEA's toy kitchen, and the IKEA black board. I also had to keep in mind all the storage and play areas needed for all the toys and artworks the kids were making. The room had to be playful, fun, colourful, and inviting for kids to play in, do various activities, watch TV, and paint so without further due I will leave you with some before and after shots and some various other shots from the room. Enjoy the transformation and let me know what you think in the comments below!


Sep 22, 2016

Bathroom Remodel Before & After, a project by me

This is a project that I took on for one of my client's family homes. They had the guest bathroom turned into a steam room a long time ago and they had the need to convert it back into a guest bathroom.
The client was very specific about what they wanted:
-White/beige/light grey tiles - it had to be neutral and light
-Wall mounted toilet
-Individual glass enclosures for both the shower and the toilet
-An aluminum sink cabinet made to look like wood (which to me is the only thing that I would change about this bathroom, I would have gone with a more delicate sink, a pedestal type or a wood legs frame with a top sink kind of piece).
The design concept was for a light, airy, clean, modern, simple yet luxorius bathroom

Photos of the Renovation Process

Before Photos
This was the bathroom when I first took on the project, the client had already started tearing it down

you can notice the aluminum ceiling here which was later replaced by a gypsum false ceiling


Approved design 3D images by Doaa Ahmed

This was the best layout to fit all of the enclosures and have the needed room for circulation

Initially the tiles on the walls were supposed to be laid down vertically, this was later changed into a horizontal layout


Photos of the Renovation process

Tiles all in and sink fixed in place

Toilet tank built out and toilet fixed to the wall, cold/hot water sprayer was put in

Shower and drains all in place

The window had to be made smaller in order to fit both glass enclosures without ending up with an ugly overlap, you can notice the drop in floor level within both enclosures. You can also notice the plain molding and gypsum ceiling boards all in at this point.

Glass company putting in the glass enclosures as per my design once the marble thresholds were put in.

looking nice!


Still in need of major cleaning

After Photos

unfortunately the bathroom was still not properly cleaned when I snapped these photos so the dirt affects the crispness and cleanliness of the images

A Venetian mirror (fake) adorns the sink along with the chrome and frosted glass accessories that I picked out. We had added a socket with a special enclosure for extra protection as per the client's request (for shaving/hair dryer/any other small appliance)


Shower Enclosure

Soap dish and glass shelves installed

All accessories in place

So what do you think? I would love to hear some feeback!
leave a comment below


Jan 21, 2016

Bedroom & Bathrooms Re-Model

This is a project that I've worked on recently. The client needed to have her daughter's bedroom re-planned to look better without purchasing new bedroom furniture but by adding to what was already there and take out whatever wasn't necessary. She also wanted a new color scheme and a more adult pulled together look over all in the room.

We took out the existing old sofa and bench, desk, desk chair, bedding, carpet, and curtains. The desk wasn't being used and was eating up too much space in the room. We also added a new seating area to watch TV in the room or to sit down and read. The wardrobe being big and black was re-located behind the door so that it isn't hte first thing you see when you enter the room which made the space look bigger and brighter.


We went for a soft subtle blues and neutrals color palette for the room. The sofa, area rug, and coffee table are all from Home Center, Console is from Midas, and the chair is from The One. The curtains were custom designed and made at Mobel Decoration.


The client also wanted to remodel the en-suite bathroom for the above shown bedroom. They requested a more modern look with under sink storage and a bigger more glamorous mirror in the bathroom. The curtain rod was removed and replaced with a partial swing screen from Kafood, mirror replaced with a mirror from Midas, new sink from Nabina, and new shower tab, mixers, and ceiling light from Ansar Gallery.


The client also wanted to remodel the kids bathroom. They requested a more modern look with under sink storage and a shower that would stretch from wall to wall and have pebble stone tiles and be as seemless as possible and partially frosted. The existing shower was removed and replaced with a custom designed and fabricated shower. The mirror, sink, tabs and mixers, ceiling light, and new showerset are from Ansar Gallery.


Oct 26, 2015

My Structured Bohemian Bedroom, Room Tour


I finally bring to you a well over due room tour, my own bedroom's that is since I've promised a while back that I will be sharing before and after's from my own home and that I'll share the overall design of the apartment 1 room tour at a time, I've already shared Farida's nursery, my 15 months old daughter, and this is the second room tour that I share.

My husband and I started looking at the design of the bedroom before our wedding, more than two years ago, We first worked on the layout, we had a great big niche in the bedroom that we decided to close off completely as a custom closet and we got it fitted, wall to wall and floor to ceiling and that was the best thing we did as our room is small as is our apartment and we try to make use of every single inch in it. The bed is actually bigger in reality than on the plan, and we ended up putting two dressers side by side instead of one because we needed the extra storage.


Then we started looking at colors, texture, and styles. We wanted something dreamy, has a little glamour chicness to it, not too pretentious, and has something grounding. Our wedding accent color was purple but it isn't why we chose purple for this room and it wasn't my sole choice, in fact my husband asked for lavender to be our paint color and that's where we started with our color scheme 


 Then we looked online and at different stores for furniture, hardware, finishes, and furnishings and we've put it all together to achieve this dream- what I would call "structured bohemian"- bedroom that we call ours.


And here is a more detailed photo tour of our bedroom

the closet was custom made to fit into the existing niche
I ordered designer brass pulls for the closets from Lewis Dolin, they shipped them to Doha directly
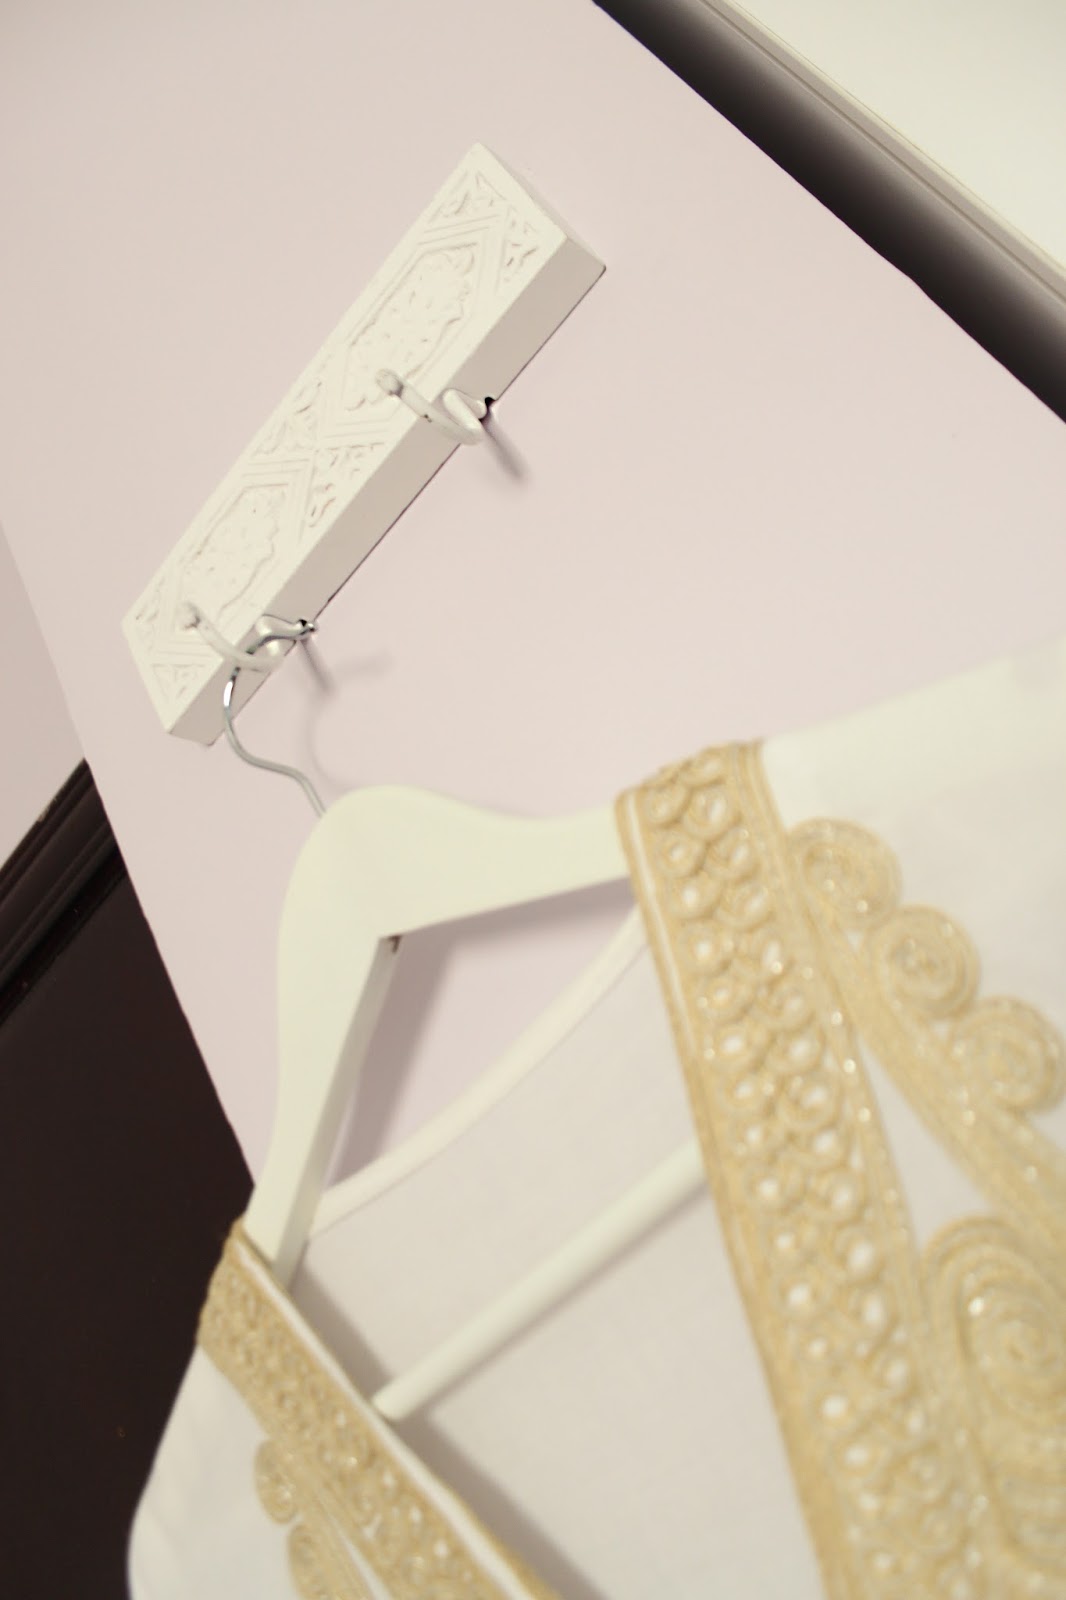
The beautiful hooks shabby wooden carved plate is from Zara Home 

The wallpaper was a limited edition online only purchase that was available at Anthropologie, I purchased the last few rolls they had left and they shipped them over to Doha. The bed was custom made with no headboard or foot board at a local shop in Doha. The beautiful bed cover that adds amazing texture and color to the room is a purchase we got on our honeymoon in Morocco. We love adding pieces to our home that we've purchased on trips, they add character to our home and remind us of the beautiful time we had there.  
The glass coasters and photo frame are wedding gifts from my cousin
The night stands are also from the Ikea Malm collection, I added these brass and mother of pearl handles from Anthropologie to customize them. The table lamps are from Ikea as well.
These two Malm dressers and makeup table are from Ikea but are customized by me be adding one of the pulls I purchased for the closet to the table and hand painting the gaps between the drawers in antique gold. You can check out the tutorial here. We added this piece of tapestry to temporary cover up where the old window style AC was fixed after we've replaced it with a split unit AC. I will have to revisit this part of the room as I'm not 100% happy with the current look of the tapestry in the room. 
The curtains were custom made in synthetic silk with an antique weave texture. They have a french pleat and are hung right under the crown molding and are 15cm longer than the wall in height so that they break nicely at the floor as they do. The mirror is from Life Style and it's a cheap replica of the famous Venetian mirrors
I have a few memorabilia from our wedding setup in nice vignettes on top of the dressers
I love to mix and match not only furniture in a room but also textures and in this case bedding, don't be afraid of mixing different colors and patterns within a room, they enrich it and add depth to a room
 Your bedroom, or apartment, or home for that matter do not need to be big and/or cost a ton for them to be beautiful. All they need is to reflect your personality and what you'd like to feel in them.

I hope you liked this room tour and the before & after's. I'd love to hear what you think and answer any questions you might have in the comments below.


LinkWithin

Related Posts Plugin for WordPress, Blogger...