May 7, 2014

Baby Girl Nursery- Take 2, a project by me

So finally the furniture arrived, 10 days ago!, the crib is the Yale white crib from Mamas and Papas and the rest of the furniture is all IKEA. I was supposed to finish the wall behind the crib before the furniture arrived but things have been crazy around here, can you notice from how many times I said I will post pictures about the nursery and never got to it?

the pillows on the nursing couch and the cloud pillow in the crib are all purchases that I made on ETSY


the nursery walls are painted a light shade of grey except for the wall behind the crib which is supposed to be a feature patterned wall with peach and golden wall decals from Walls By MUR


I'm personally not into changing tables and baby bath stands, I'd rather get a dresser with a changing pad to go on top and a bath sponge.


A great way to upgrade any furniture like IKEA's is to replace it's hardware with nicer hardware. I replaced the white knobs with these mother of pearl brass knobs from Anthropologie which I had purchased originally for my bedside tables with a couple of extra ones which came in handy!


Finally last Friday I managed to in list the help of my sister and her friend to start on the feature wall behind my baby's crib. It took a very long time to stick these decals in place all perfectly aligned. We used a ladder, pencil, X-acto, masking tape, a straight edge, and a level and it's really an exhausting job. They did the majority of it really.


Here you can see the room starting to take shape


The golden triangles are actually metallic which add glamor to the nursery in a subdued way. I LOVE it and love the colour of the triangles and that they are not baby pink but a peachy pink colour.


so I will hopefully post again soon on finishing the feature wall with decals from Walls by Mur and some other updates in the nursery. Once the nursery is completed and I have my baby I will be sharing the rest of the apartment's design space by space and how we turned it around from absolute nothing-ness (I love inventing words) to the beautiful 3 bedroom small apartment that we absolutely love.

Mar 24, 2014

Baby Girl Nursery, a project by me

This is an ongoing project that I posted a teaser about earlier. It's my baby's nursery. My husband and I are currently expecting our first child- due early July- and we couldn't be happier. As you can tell from the title we found out that we are having a girl! and being the "design project manager" that I am I started designing the nursery right away. Take a look at the concept, colors, inspirations that influence my design and check out the album every now and then for pictures of the nursery before, during, and after the design works take place.

I knew I wanted my baby's nursery to be a place my husband and I would love and enjoy being in as much as our baby would once she got slightly older. I however wasn't keen on frills and bespoke royal baby sort of nurseries. I wanted something that was pretty and practical that had clean modern lines and that would grow with my baby.

I consider myself to be a girly girl but there is one thing that I hate so much that is associated with girls which is the color Baby Pink. I honestly absolutely hate those two baby associated shades; baby pink and baby blue. I however love other blues and pinks left within the spectrum. I wanted a peachy sort of pink, never mind the tone in this board it's a tad too peachy here.

I wanted to complement the peachy pink with a mint green and metallic gold for accents. All furniture was going to be white- personal preference- and I knew light grey was going to be used around the room as a neutral backdrop color.

I took my personal preferences, budget, size limitations, and needs to the Doha market and online market for that matter and came up with a mood board for my baby's nursery of things I'd like to use, or find things that are similar to. Beside having a color theme for the nursery my husband and I wanted to use the motif of a lamb in the nursery but not too much that it gets redundant, we hate things too matchy matchy


Then came time to create the layout and make sure everything would work in the room.


These are a few teaser partial elevations to give you an idea of what will be going on in the nursery


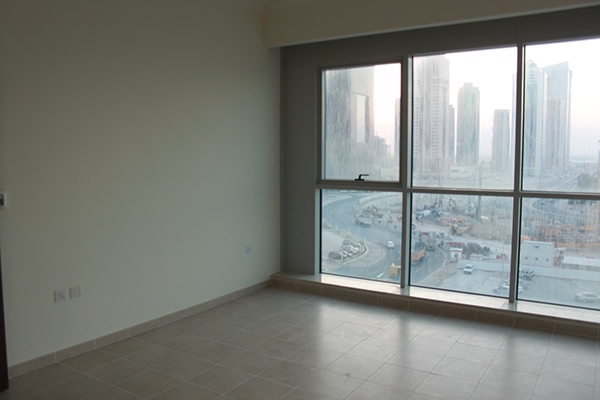
Comes the time for photos of the actual space now. This is the nursery, 1 of the 3 bedrooms in our apartment. The photo is taken at the time that we first went to check the apartment out for rental. You guessed right, this is the door that leads to the teeny balcony which I've posted about before.


As you can see the room is currently being used as a drying/ironing room and a place to store "stuff" we are planning on moving the laundry related activities to the 3rd bedroom, remains a store room today, once the baby comes and to get all of the extra stuff that we don't need sorted out before the baby comes!


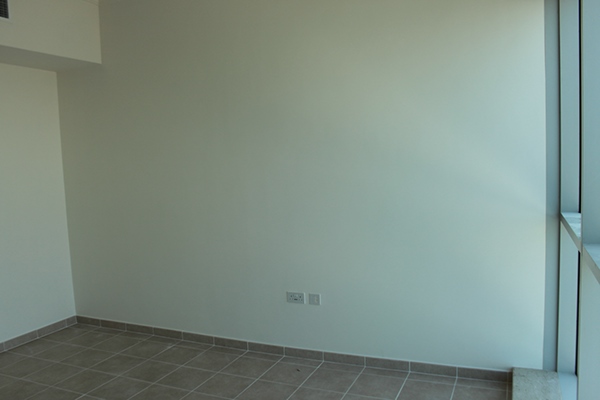
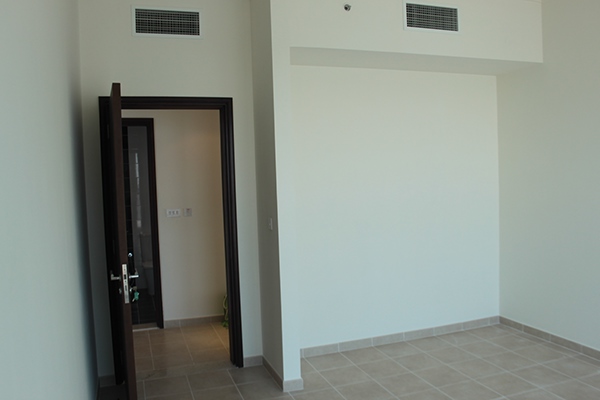
and Here are other photos showing all the other sides in the nursery.


Stay tuned for more posts to follow on the progress in the nursery

So what do you think? have you done a nursery in your room before, would you like to share it with us? PM me!


Mar 20, 2014

Tile Away

One of the things you can play around with in your home when re-furbishing or building/buying a new home is tile. It comes in all sorts of colors and shapes and can really be used anywhere, not just in bathrooms and kitchens. So the next time you take on a tiling project, try something different.


multi color it


Change the shape, aren't you tired already of the square 40cmX40cm tiles? pictured are the Penny Mosaic Tiles


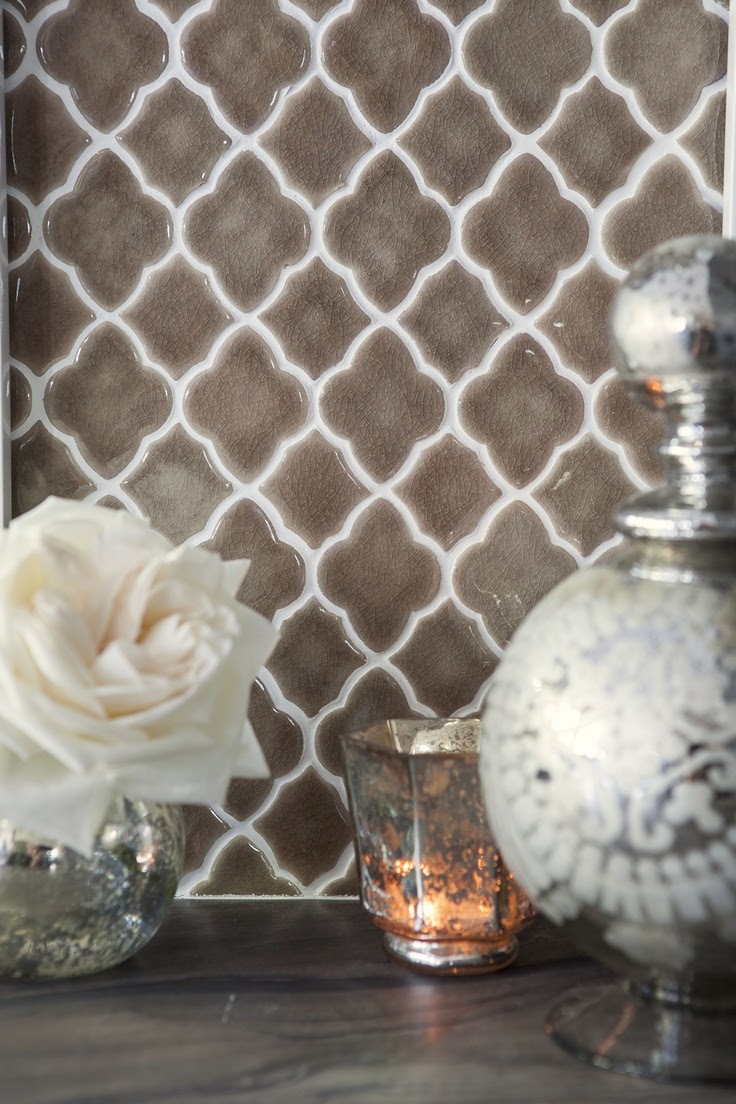
Get a fancy look with a sophisticated tile shape that adds a level of intricate detailing. Always contrast the grout color to the tile color for a powerful impact


Get a funky shape and a monochromatic color scheme and do an entire wall for an overall powerful effect like these fish scale tiles


Add a sense of depth to your walls/floors by a 3d illusion created by segmented 3d shapes. Don't you love the monochromatic scheme with the pop of yellow?
 

 so have you come across some really cool installation, or done some yourself? share it with us

Mar 2, 2014

Balcony Revival, a project by me

Hi Everyone, I'm finally getting to actually sharing my space with you guys. I know I promised to do that long time ago, but I'm getting too caught up in the little details to start sharing just yet. So I decided to share one space at a time!

We never used the little balcony which is in one of our 3 bedrooms ever since we moved into our first apartment in September after our wedding. It was so hot that we never actually even opened the sliding doors because the Air conditioners were on all the time. Once the winter in Doha started though, my husband started day dreaming about having a nice balcony and I was day dreaming about trying out my green thumb.

I had to get a maid to clean out the balcony, it was so dirty- I don't think anyone cleaned it ever since the building was built!- that I didn't even know what type of flooring laid underneath the layers of dust and dirt and then planning commenced!


These pictures were taken during mid cleaning, it was much much worse than that. I didn't know if I had terrazzo tiles or ceramic tiles laying under the dust, to my surprise it had ceramic tiles just like the ones inside the house! 

I took measurements and logged onto the best website ever, IKEA of course! and started shopping around for items that would work within my space, I knew I needed storage for all the plants care tools and items and outdoor equipment and that I wanted plants to be able to vertically grow (climbing plans and shelves for pots to go on) and that I had very limited space so furniture size mattered big time here. I chose the furniture and did the layout as per the furniture measurements.


My husband liked these floor decking tiles that we saw at IKEA once so I did a tile layout just to know how many tiles I needed.


I then went to IKEA for a shopping spree and got everything on my shopping list+some candles and garden lanterns and all the furniture pieces were assembled and in place! my husband and I spent the following days having every cup of coffee, breakfast, dinner there, we loved it. It had transformed so much although it was still pretty bare.


The next weekend my husband and I took off to the plants shop near the whole sale market and picked and choose plants and flowers to go in our balcony and had them arranged in the pots right there. I also picked up some seeds which I should get to planting right now so that I don't miss the season! I got cherry tomatoes and some herbs to try and see if I have a green thumb!

All the plants and lanterns went into place and the place turned into a mini oasis! we are absolutely smitten and in love with our little balcony/garden for two and we are keeping our plants company by being in that balcony on almost daily bases.


So what do you think? have you had any green thumb experiences lately? tried yourself at landscaping or got someone to redo your garden, balcony, outdoor space? share your ideas, comments, and photos with us!


Feb 26, 2014

2 Bedroom Apartment Finishing/Furnishing, a project by me

I'd like to apologize for the lack of attention and posting on my blog lately. The wedding, marriage, furnishing my own new home which is a forever ongoing project that I'm yet to post about, getting un-unexpectedly pregnant and work have gotten in the way of me posting here and on my facebook page.

Recently I've taken on a freelance job to finish and furnish a 2 bedroom apartment for a family of 3 at West Bay in Doha and I can finally share it with you guys!

My scope included;

-Meeting with the family regularly to determine their style, scope, favorite colors and activities, budget, and follow up on work.
-Furniture Layout for the entire Apartment, I did a survey, took measurements, and drew the plans myself as the renters had no plans of their apartment. 
-Color schemes creation for each room, except the master bedroom.
-Curtains design & fabrication for the entire Apartment 
-Furniture and Finishing selection for the entire Apartment except the master bedroom furniture, the family 
selected that.
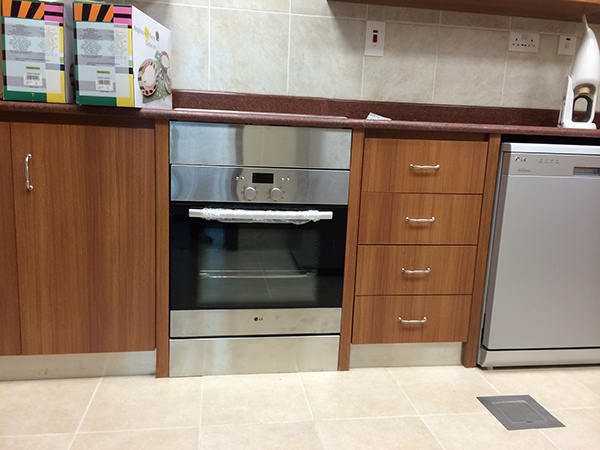
-Selecting all kitchen big appliances and fitting the oven to look like a built-in piece with a stainless steel 
brushed frame and a box stand.
-Designing & selecting contractors to do some custom joinery work.
-Managing contractors, suppliers, and furniture arrivals and assembly.

The budget for all furniture, appliances, work done was within 50K-60K. 
Project time from start to finish was 2 months.

Now without further delay I will leave you with pictures from the project. I'm very glad that the family finally managed to move into their new home :)


Furniture Layout Plan
-----------------------------------------------------------------------------------------------
Living & Dining
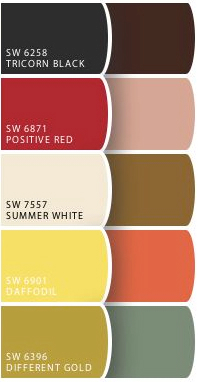

Their Living/Dining area color scheme


Their Living/Dining area furniture board


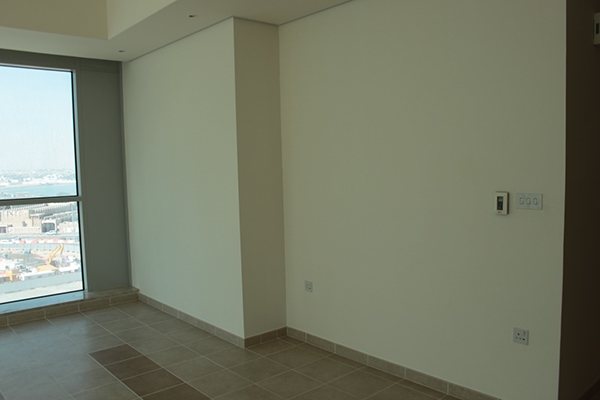
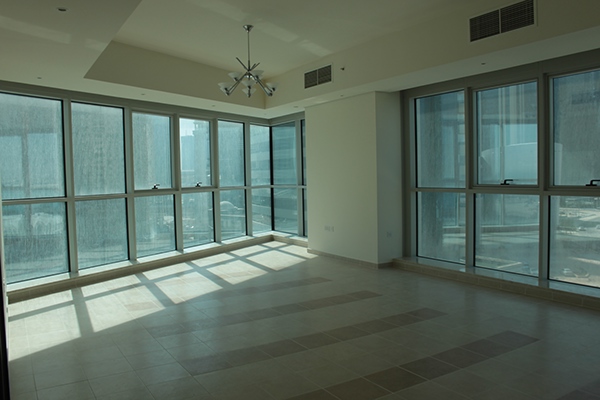
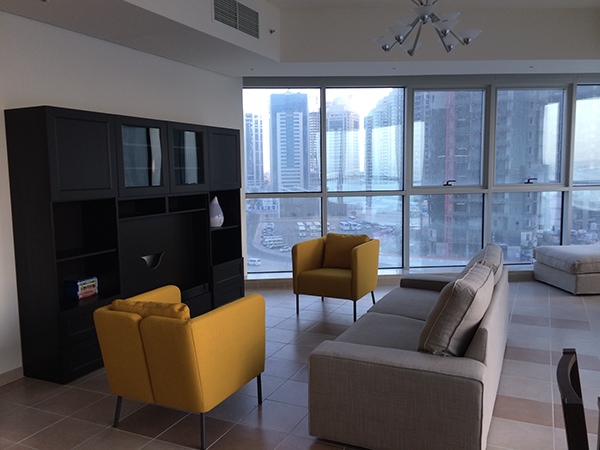
Their Living/Dining Before photos


Their Living/Dining Before photos


Their Living/Dining During photos


Their Living/Dining During photos


Their Living/Dining During photos


Their Living/Dining During photos


Their Living/Dining During photos


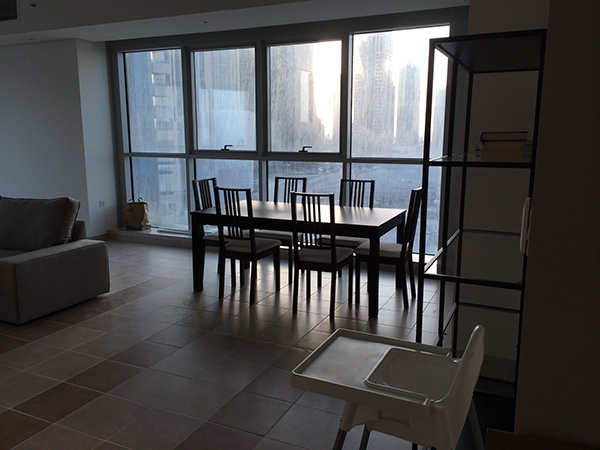
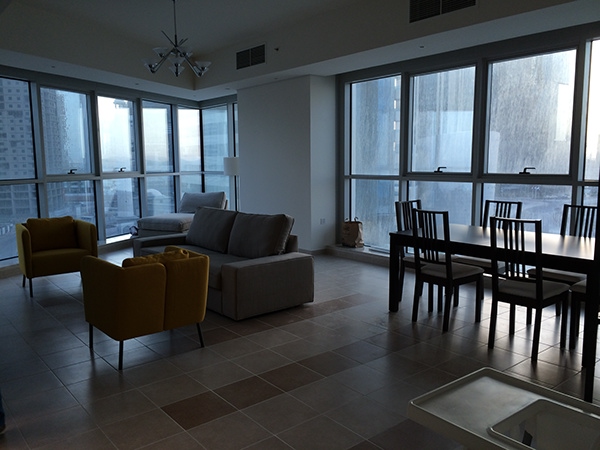
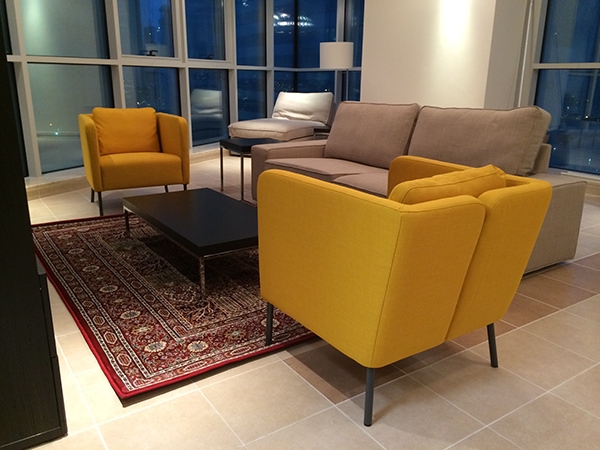
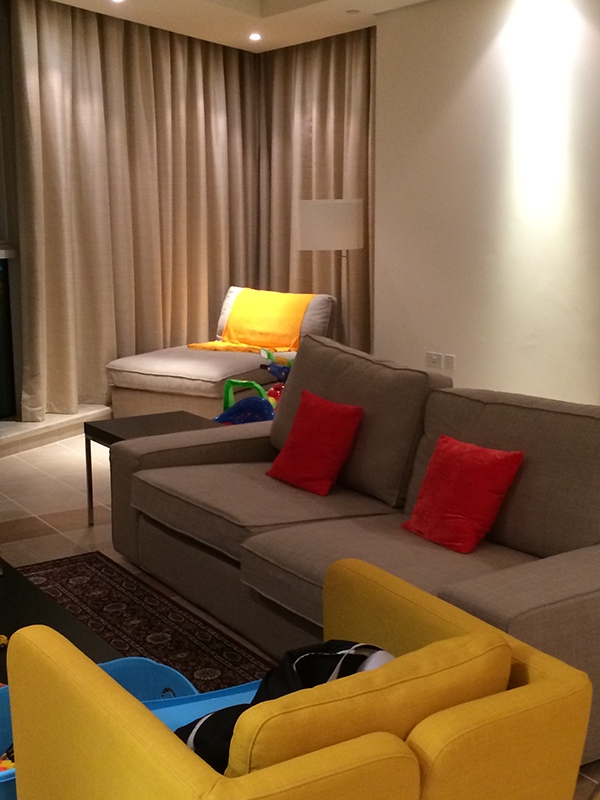
Their Living/Dining After photos
----------------------------------------------------------------------------
Master Bedroom


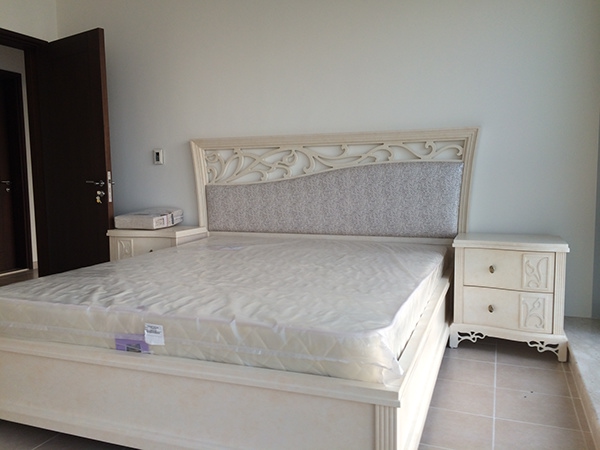
The parent's bedroom was the room that I had the least amount of work at as the bedroom furniture/bedding were already selected, I designed and had the curtains made but unfortunately I do not have any photos of it. I did the layout of the room and some touches around.


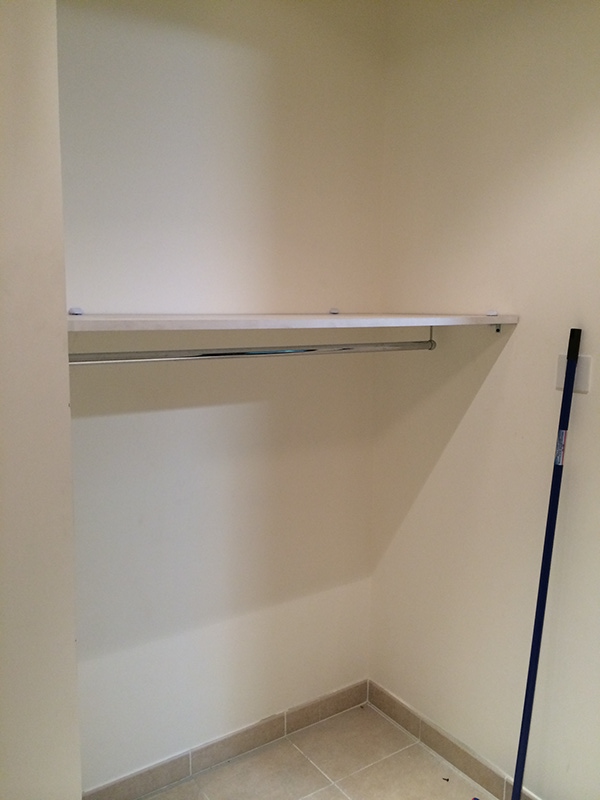
Their dressing area was open leading towards their bathroom and they asked for a single shelf and hanger in each side of the dressing, the location of the switches prevented us from doing any partitions, the family was recommended to use curtains to elegantly hide the closet space behind on each side.

Before & After


Bed once dressed, linens selected by the family.

I did choose the curtains fabric and got them made and installed I sadly don't have any photos of the bedroom curtains though.
----------------------------------------------------------------------------
Master Bathroom

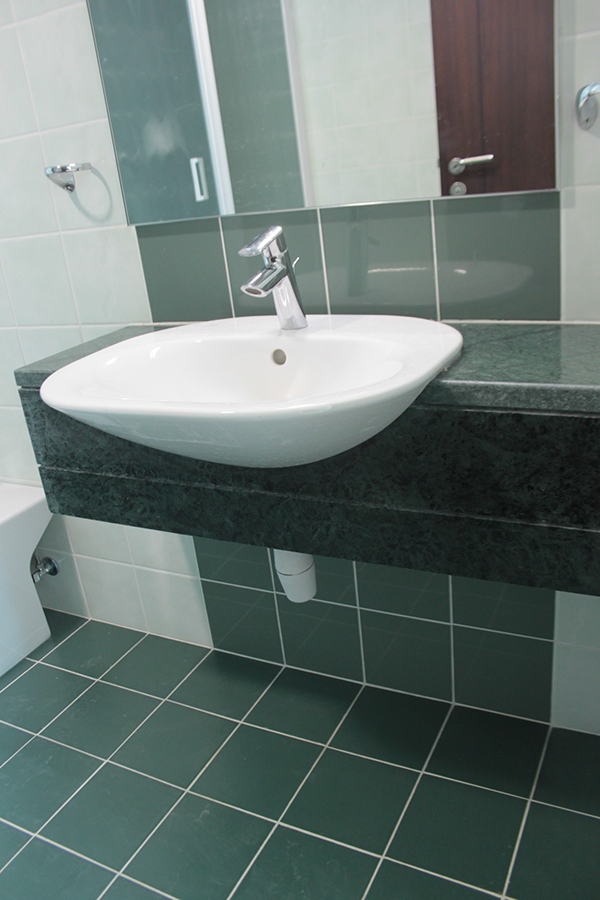
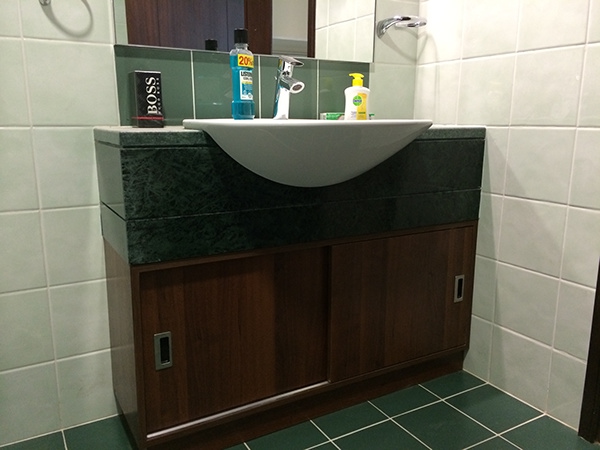
Their bathroom lacked storage thus the space under the cantilevered counter was great to design and add on some cabinets that would fit within the design of the space and would not look like an after thought.

Before & After


----------------------------------------------------------------------------
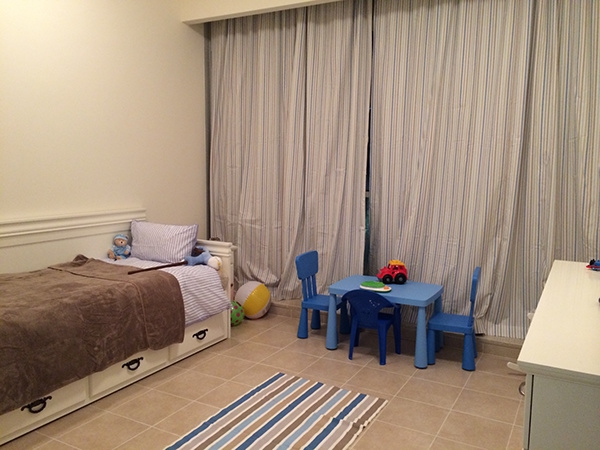
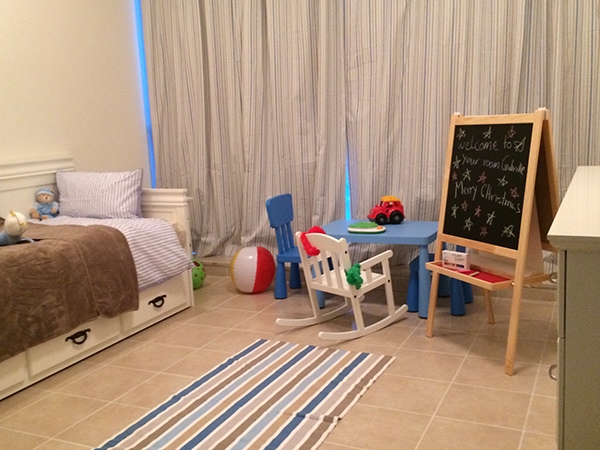
Gabriell's Bedroom

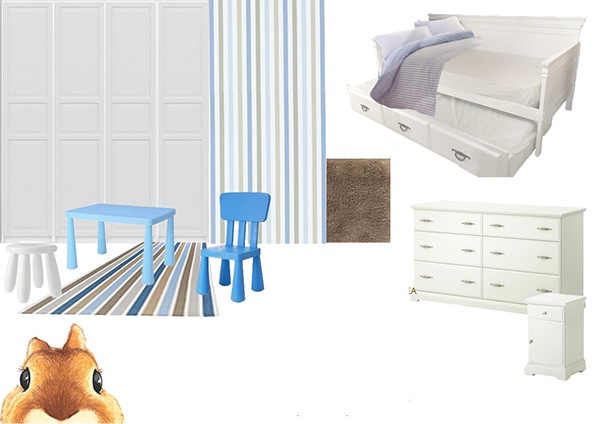
Their 3 years old son's bedroom color scheme


Their 4 years old son's bedroom furniture board

Their 4 years old son's bedroom Before photos


Their 4 years old son's bedroom During photos


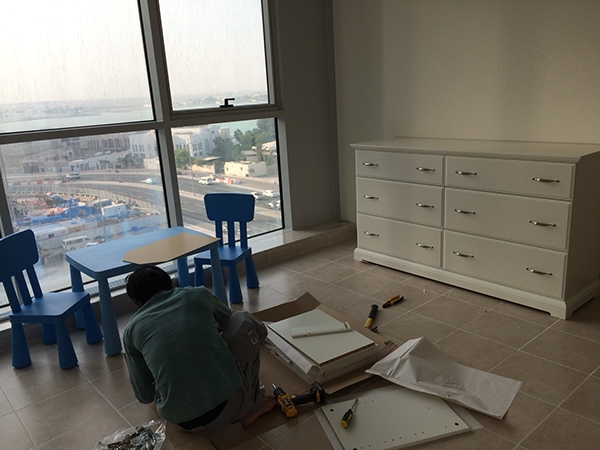
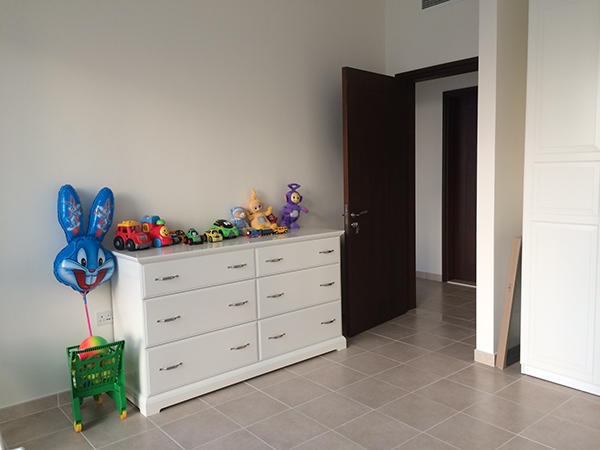
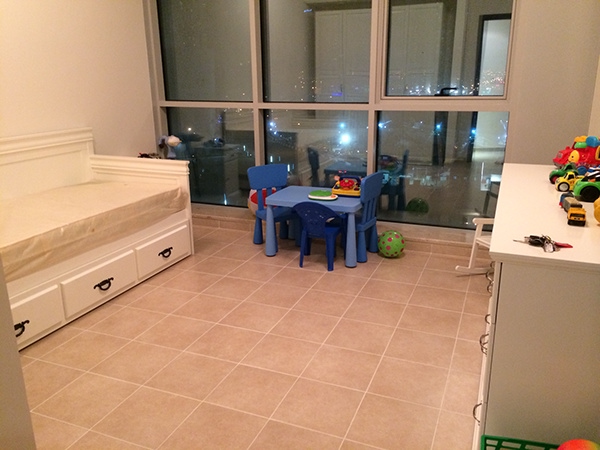
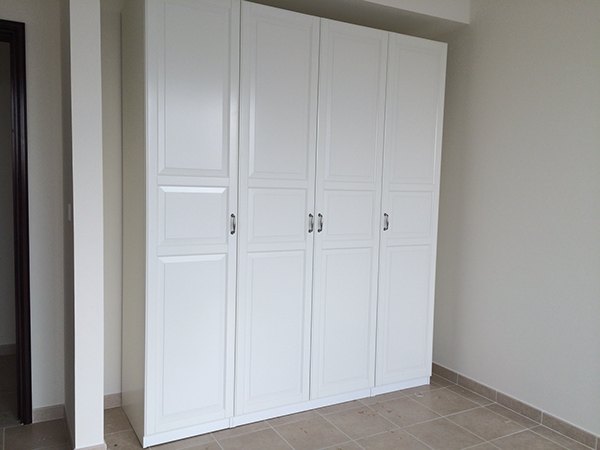
Custom closet designed by me and executed by IKEA, the closet was supposed to be accompanied by a frame to make it look like it was built in, the family decided afterwards to push the closet towards one side and put hangers within the space left.


Their 4 years old son's bedroom After photo


----------------------------------------------------------------------------
Gabriell's Bathroom

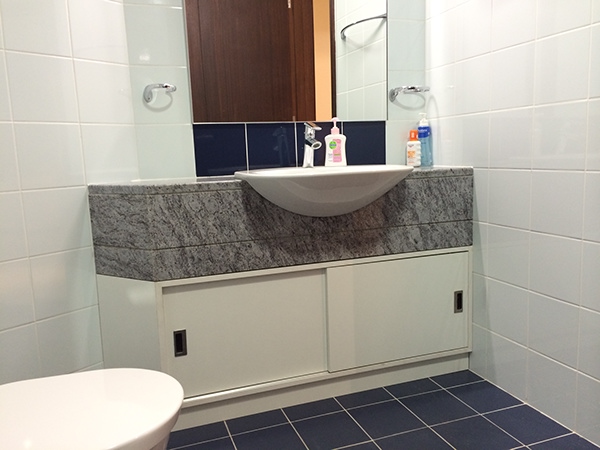
His bathroom also lacked storage thus the space under the cantilevered counter was great to design and add on some cabinets that would fit within the design of the space and would not look like an after thought.

Before & After


----------------------------------------------------------------------------

Kitchen


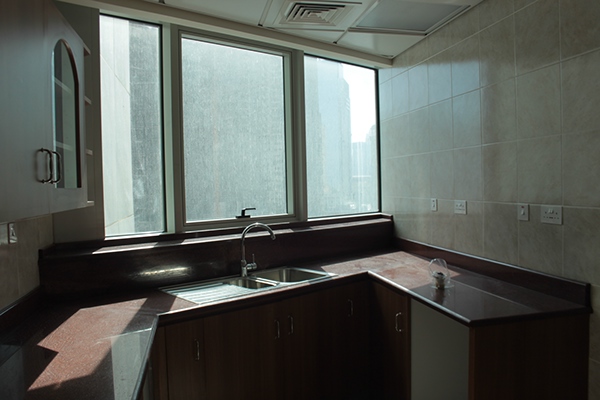
In the kitchen I selected the appliances, the family needed a built in solution for the burners/oven, the marble was cut by a specialist and the burner modern stove was fitted in. The oven was shorter that the space provided so I designed a box to go underneath it to raise it up and that was then topped and covered by brushed stainless steal to match the cabinets' skirting.

Before & After


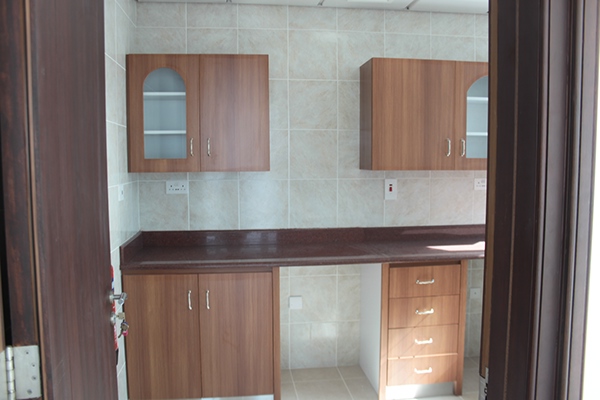
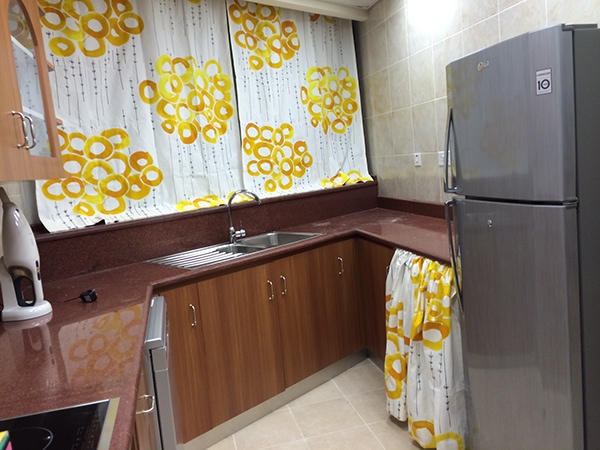
The family asked for curtains in their kitchen and tiny matching curtains to cover the washer which had a different finish than the rest of the kitchen appliances, was white instead of being grey/stainless.

Before & After 


So what do you think? Have you remodeled your home or a room in your home lately? share the love!

XO

LinkWithin

Related Posts Plugin for WordPress, Blogger...