I'd like to apologize for the lack of attention and posting on my blog lately. The wedding, marriage, furnishing my own new home which is a forever ongoing project that I'm yet to post about, getting un-unexpectedly pregnant and work have gotten in the way of me posting here and on my facebook page.
Recently I've taken on a freelance job to finish and furnish a 2 bedroom apartment for a family of 3 at West Bay in Doha and I can finally share it with you guys!
My scope included;
-Meeting with the family regularly to determine their style, scope, favorite colors and activities, budget, and follow up on work.
-Furniture Layout for the entire Apartment, I did a survey, took measurements, and drew the plans myself as the renters had no plans of their apartment.
-Color schemes creation for each room, except the master bedroom.
-Curtains design & fabrication for the entire Apartment
-Furniture and Finishing selection for the entire Apartment except the master bedroom furniture, the family
selected that.
-Selecting all kitchen big appliances and fitting the oven to look like a built-in piece with a stainless steel
brushed frame and a box stand.
-Designing & selecting contractors to do some custom joinery work.
-Managing contractors, suppliers, and furniture arrivals and assembly.
The budget for all furniture, appliances, work done was within 50K-60K. Project time from start to finish was 2 months.
Now without further delay I will leave you with pictures from the project. I'm very glad that the family finally managed to move into their new home :)
 |
Furniture Layout Plan
|
-----------------------------------------------------------------------------------------------
Living & Dining
 |
Their Living/Dining area color scheme
|
 |
Their Living/Dining area furniture board
|
 |
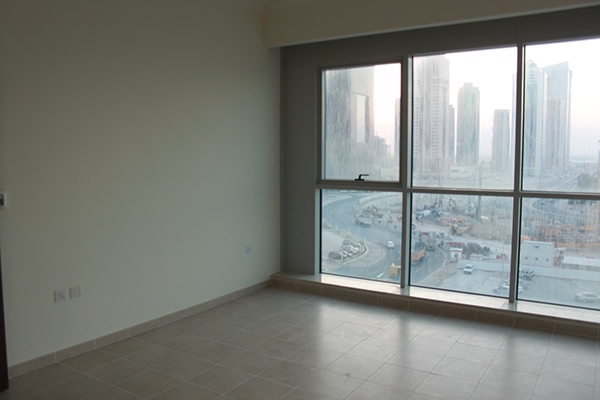
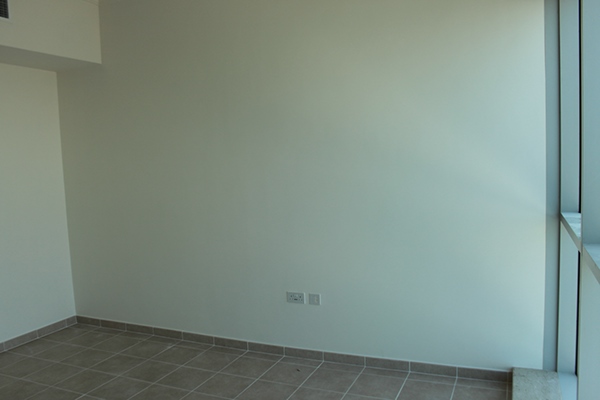
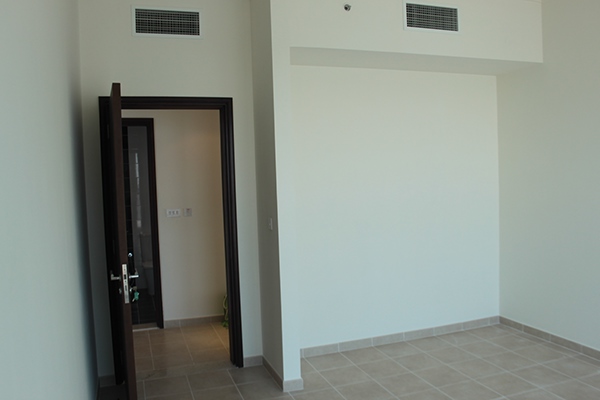
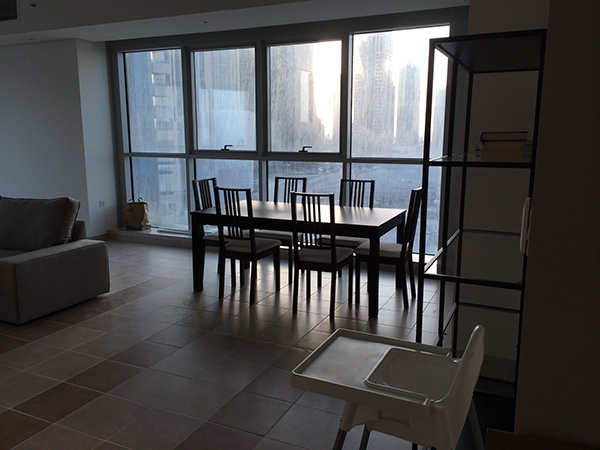
Their Living/Dining Before photos
|
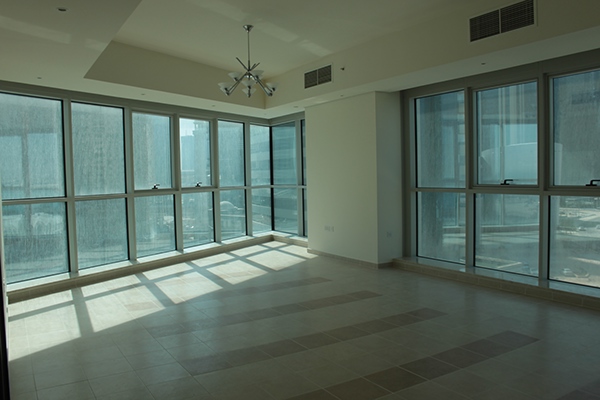 |
Their Living/Dining Before photos
|
 |
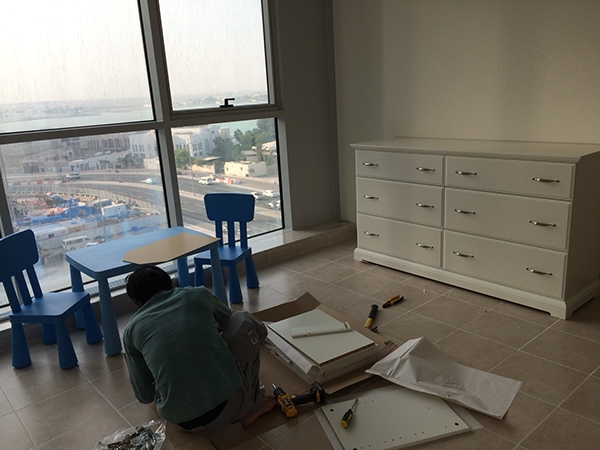
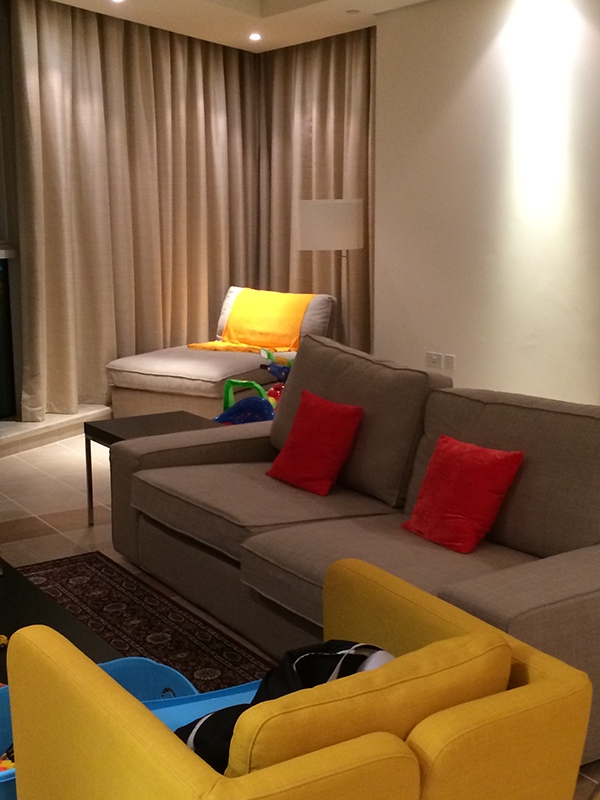
Their Living/Dining During photos
|
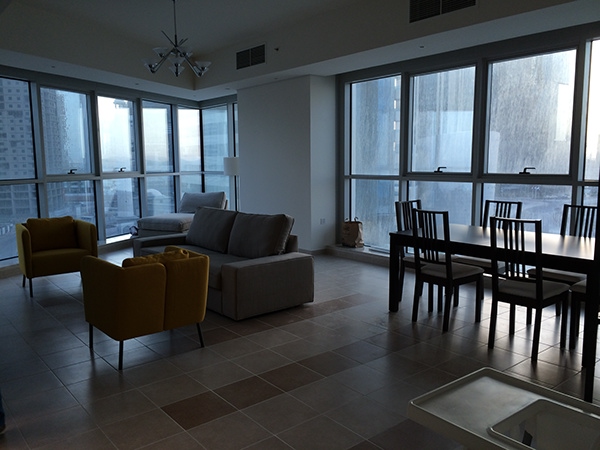 |
Their Living/Dining During photos
|
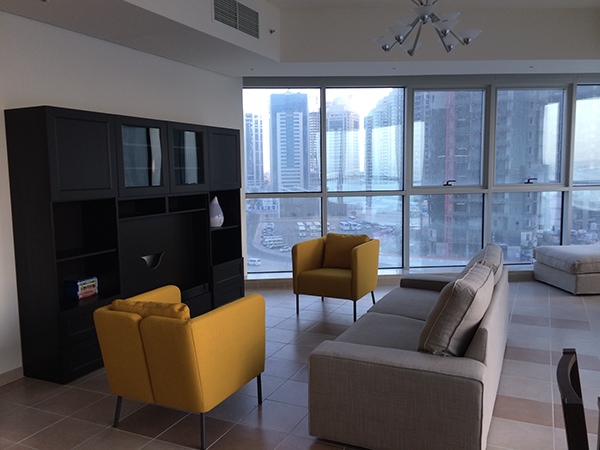 |
Their Living/Dining During photos
|
 |
Their Living/Dining During photos
|
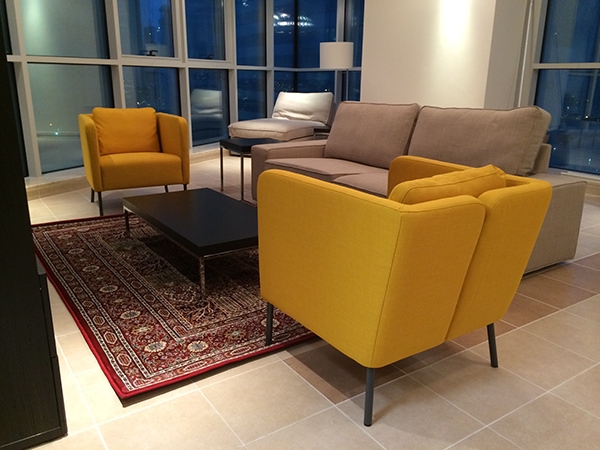 |
Their Living/Dining During photos
|
 |
Their Living/Dining After photos
|
----------------------------------------------------------------------------
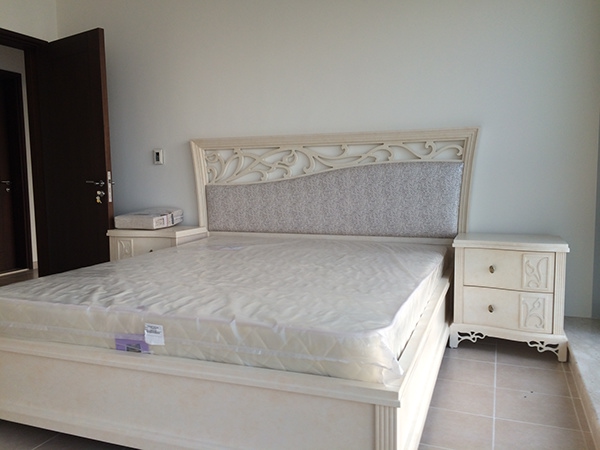
Master Bedroom
The parent's bedroom was the room that I had the least amount of work at as the bedroom furniture/bedding were already selected, I designed and had the curtains made but unfortunately I do not have any photos of it. I did the layout of the room and some touches around.
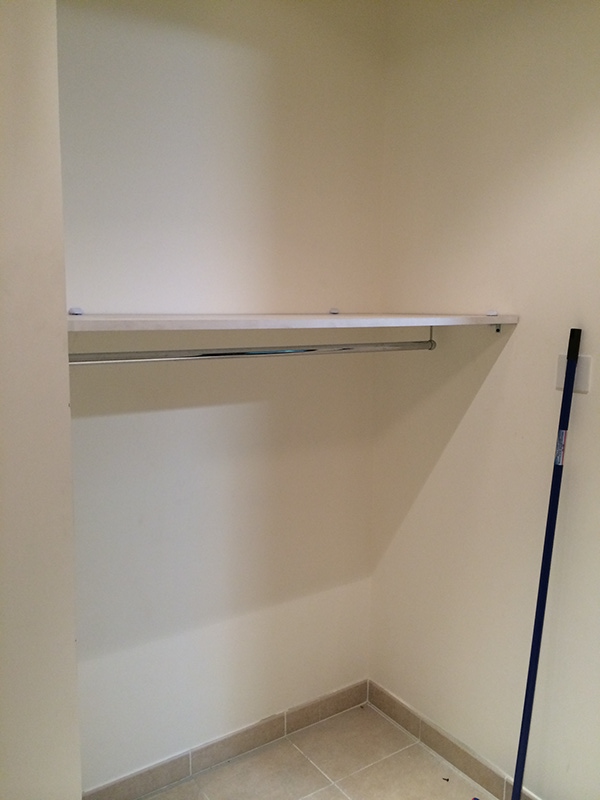
Their dressing area was open leading towards their bathroom and they asked for a single shelf and hanger in each side of the dressing, the location of the switches prevented us from doing any partitions, the family was recommended to use curtains to elegantly hide the closet space behind on each side.
Before & After
 |
Bed once dressed, linens selected by the family.
|
I did choose the curtains fabric and got them made and installed I sadly don't have any photos of the bedroom curtains though.
----------------------------------------------------------------------------
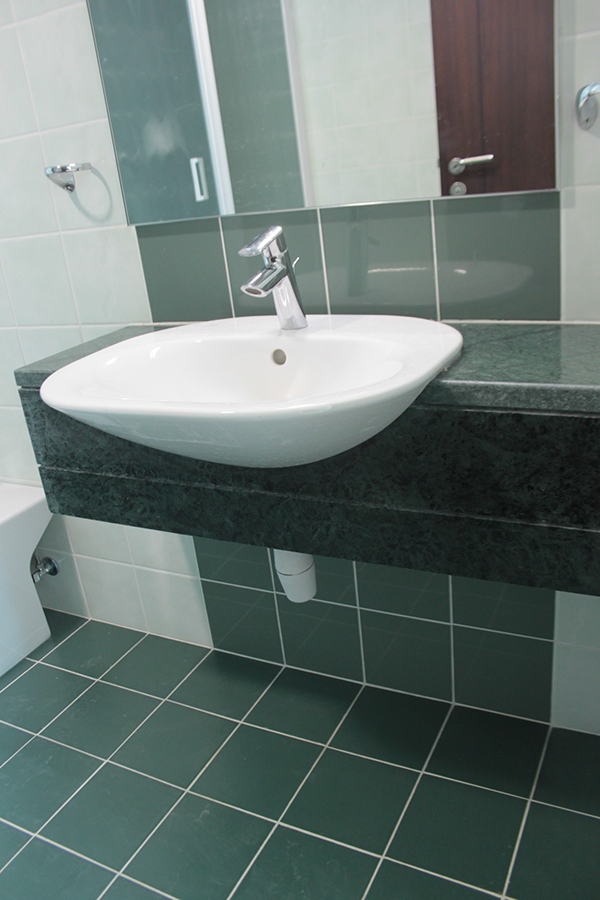
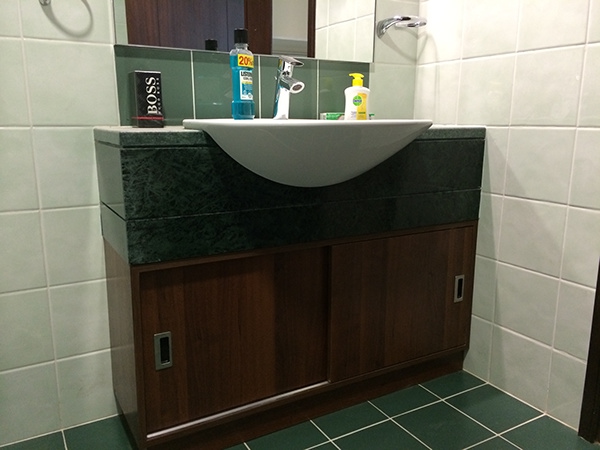
Master Bathroom
Their bathroom lacked storage thus the space under the cantilevered counter was great to design and add on some cabinets that would fit within the design of the space and would not look like an after thought.
Before & After
----------------------------------------------------------------------------
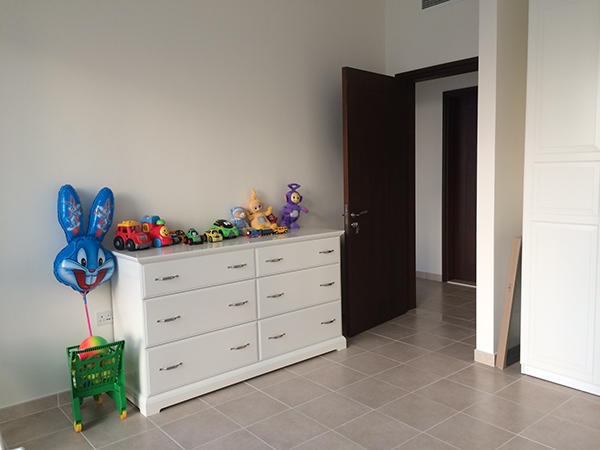
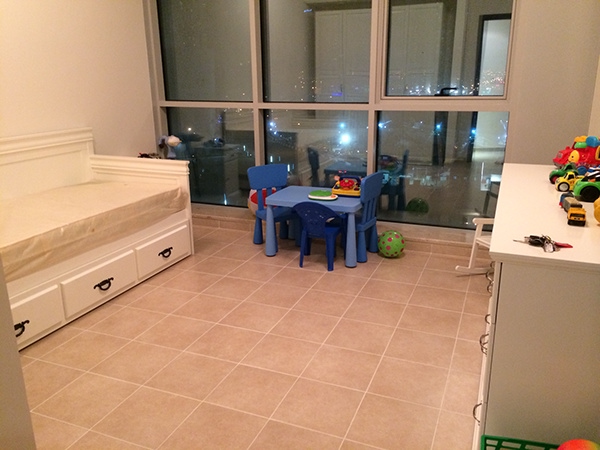
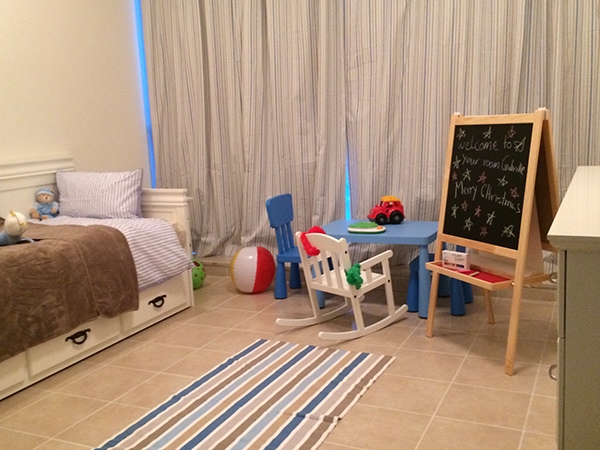
Gabriell's Bedroom
 |
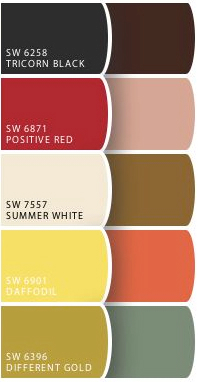
Their 3 years old son's bedroom color scheme
|
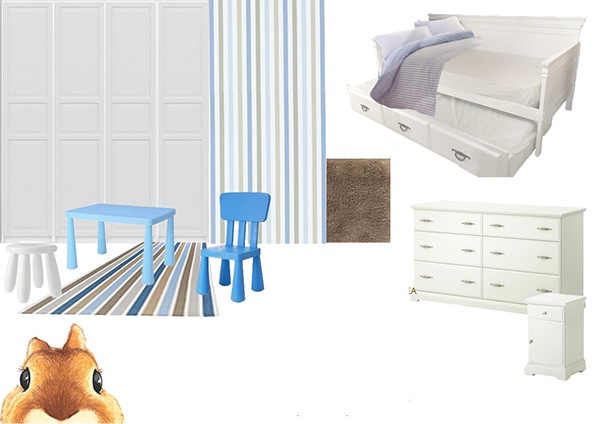 |
Their 4 years old son's bedroom furniture board
|
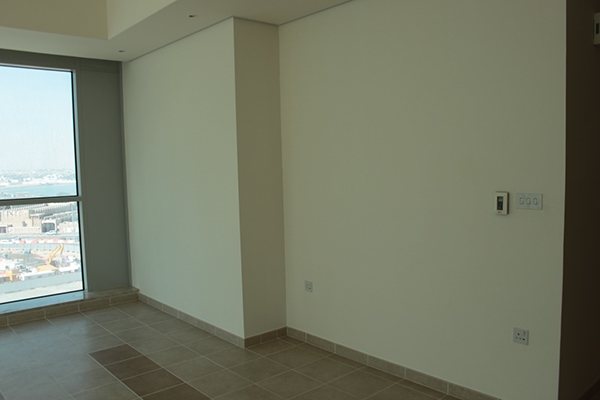
Their 4 years old son's bedroom Before photos
Their 4 years old son's bedroom During photos
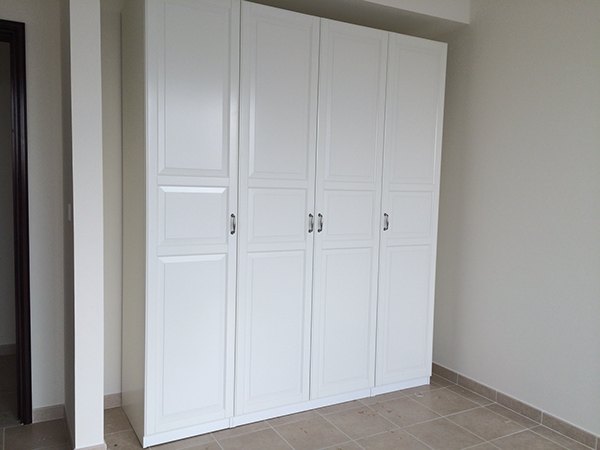
Custom closet designed by me and executed by IKEA, the closet was supposed to be accompanied by a frame to make it look like it was built in, the family decided afterwards to push the closet towards one side and put hangers within the space left.
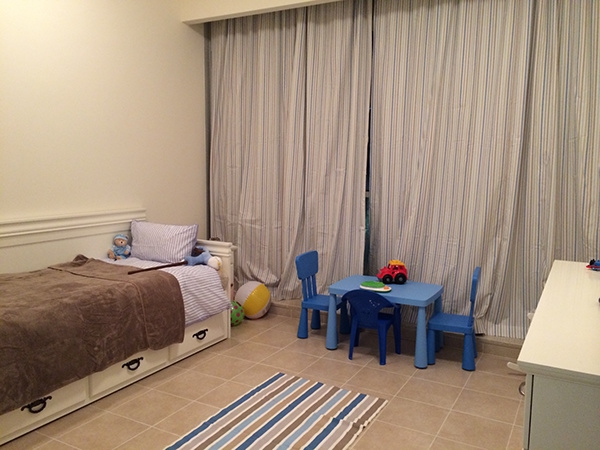
Their 4 years old son's bedroom After photo
----------------------------------------------------------------------------
Gabriell's Bathroom
His bathroom also lacked storage thus the space under the cantilevered counter was great to design and add on some cabinets that would fit within the design of the space and would not look like an after thought.
Before & After
----------------------------------------------------------------------------
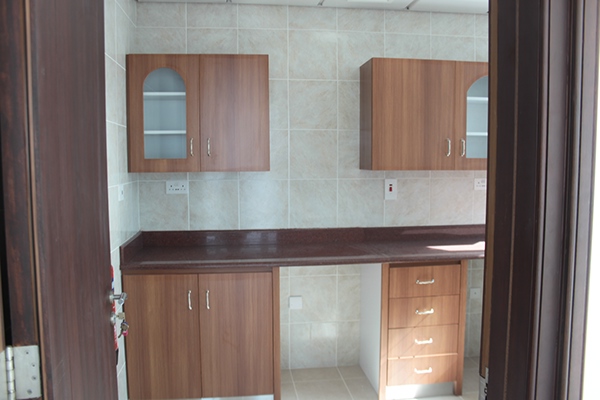
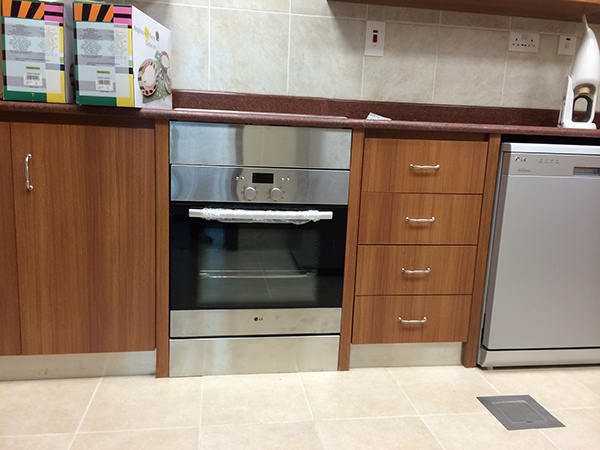
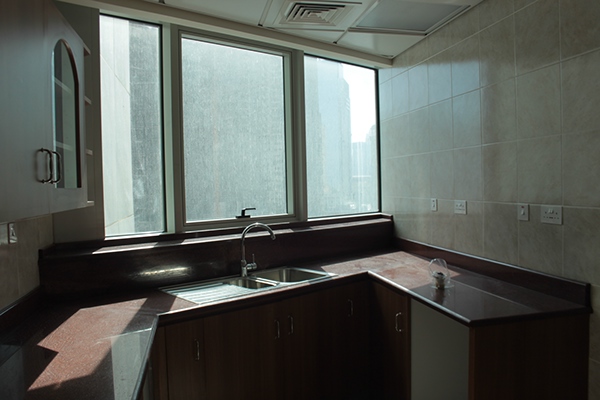
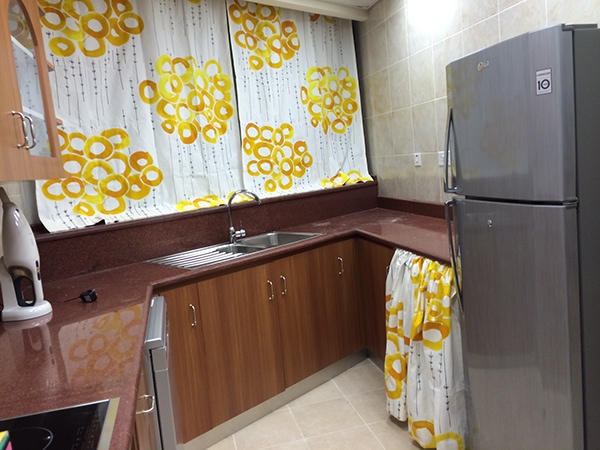
Kitchen
In the kitchen I selected the appliances, the family needed a built in solution for the burners/oven, the marble was cut by a specialist and the burner modern stove was fitted in. The oven was shorter that the space provided so I designed a box to go underneath it to raise it up and that was then topped and covered by brushed stainless steal to match the cabinets' skirting.
Before & After
The family asked for curtains in their kitchen and tiny matching curtains to cover the washer which had a different finish than the rest of the kitchen appliances, was white instead of being grey/stainless.
Before & After
So what do you think? Have you remodeled your home or a room in your home lately? share the love!
XO